

Grout Guide
You spend days agonising over the style and colour of wall tiles, yet choosing the grout is a mere afterthought. But you should give it more consideration because grout plays a key role in turning your tiling creation into a masterpiece.
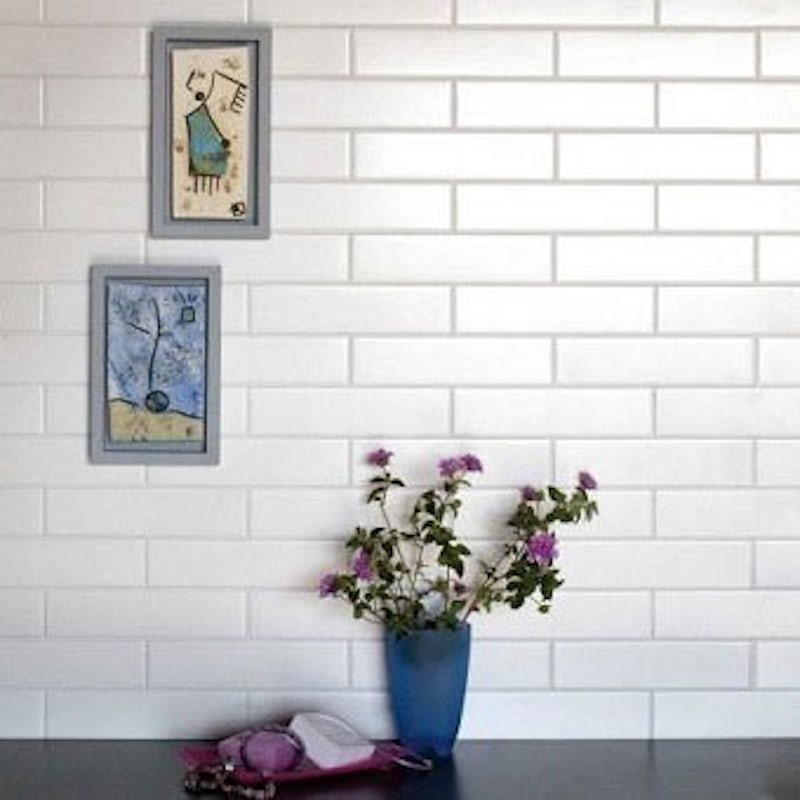
The colour you choose could be the making of your tiled wall. It will determine whether your eye is drawn to the individual tiles or to the overall pattern. By matching the grout and tile colour, the grout lines become indistinct and the tiles all blend together to create a uniform feature where the individual tiles disappear to give way for one complete picture of beautiful tiling. The closer the colors of grout and tile, the more uniform and textured the installation will look. Consider, for example a grey metro tile and matching grey grout for a beautifully uniform, but textured surface.
If you want to highlight the beauty of the individual tiles, pick a shade of grout that contrasts. By contrasting the tile and grout colours, you draw attention to the overall pattern and layout of the tiles. The placement of the individual tile is more visible,creating a striking, patterned look; the grout acting as a kind of frame for each individual tile.
The greater the difference in between grout and tile colour, the more visible the pattern will be. So, contrasting tile and grout may be the best choice with detailed geometric or decorative layouts.
Think of white Metro tiles with dark grey grout with its classic industrial look. This creates a strong design statement, but you needn’t limit yourself to grey. In fact, any colour you choose will go well with white tiles to warm up an otherwise sterile looking space and you can continue the same colour around the room for a coordinated feel. Alternatively, choose beautiful coloured tiles and strongly contrast with grout from the other side of the colour spectrum for a bold look that draws attention. Or, bold coloured tiles can be softened with a complementing darker colour to tone down the overall look.
If you’re looking to consider a grout colour for its practicality, remember that light neutral-coloured grouts in greys, beiges and browns is a safe bet in bathrooms that are likely to get grubby over time. The lighter the grout the more regular maintenance it will need. Darker grouts on the other hand, may hide dirt and stains but are also more prone to fading and staining from harsh cleaners.
Grout is not just for filling in the spaces, it does the hard job of framing the tiles and allowing them to shine, so give your grout the appreciation it deserves and choose wisely.
Grout Guide 4 Tips
1. What is Grout?
Grout is the cement based material that fills the spaces between the gaps between tiles on the wall and on the floor. Grout is important because it can hinder the beauty of the tiles if not used correctly or looked after properly.
2. What tools do I need to grout?
Presuming your tiles are fixed to the wall, you will need:
Small trowel, grout float, sponge, mixing bucket, gloves and a mixing paddle would be useful. You basically mix the grout in a bucket, use the trowel and grout float to apply grout between the tiles and then sponge off at the end.

3. Grout Colour Selector
The grout colour is a visible part of the tile design, so should really match your tiles. Also think long term – darker grout colours will help hide staining (from water or spillages etc) whether for the wall or floor. Of course light grouts may look better on your tile design, but may need more work to maintain the look.

4. Use a grout protector.
This invisible spray is easy to use and is essential to help keep your grout and tiles looking lovely. Highly recommended, as well as cleaning products that do not break down the grout protector.


It’s a job you’ve been putting off forever but your grubby grout can no longer be ignored. It’s a blight on your beautiful bathroom wall tiles which are looking a bit lacklustre and you’re sure there’s something deadly growing underneath. It must be dealt with pronto.
Contrary to popular belief most grout is not actually waterproof but merely water resistant, which means that it can absorb moisture. If this moisture contains dirt particles then the build up will result is grubby looking grout.

So how do you deal with stained grout? Well you can either prevent the build up in the first place by using a grout and tile protector, or you can deal with it afterwards by using a grout stain remover. You can also maintain the grout and keep your wall tiles looking fabulous with a mild detergent such as wax wash, a specially formulated product to help reduce the build up of dirt.
So all you need do is put some music on, roll on the rubber gloves and get scrubbing. Actually, once you start its really quite satisfying. Not convinced? Well at the very least you’ll restore your bathroom to its former level of sparkle.
Before you start, make sure your cleaning product it is actually suitable for use on your wall tiles. Some stain removal products are unsuitable for marble, travertine or limestone.
Then, simply dilute as necessary, and wipe on. For more stubborn stains you might need to give it a bit of elbow grease. But there’s nothing like a bit of scrubbing to get the blood pumping. Rinse off with copious amounts of clean water, stand back and admire your beautiful sparkling wall tiles. Job done! Now, admit it, that wasn’t too bad, was it?

