

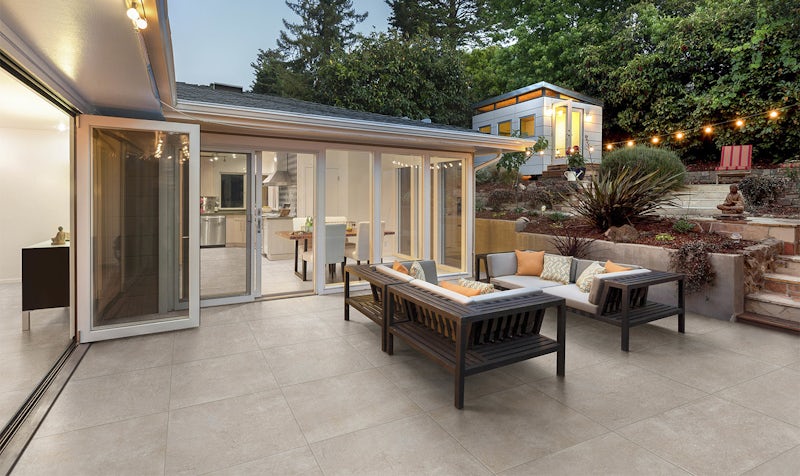
How To Create Your Perfect Patio
What better way to spend the sunny and hot summer days than relaxing on a luxurious patio in the comfort of your very own garden? We're here to help you create your perfect summer oasis with this detailed guide on how to create your perfect patio.
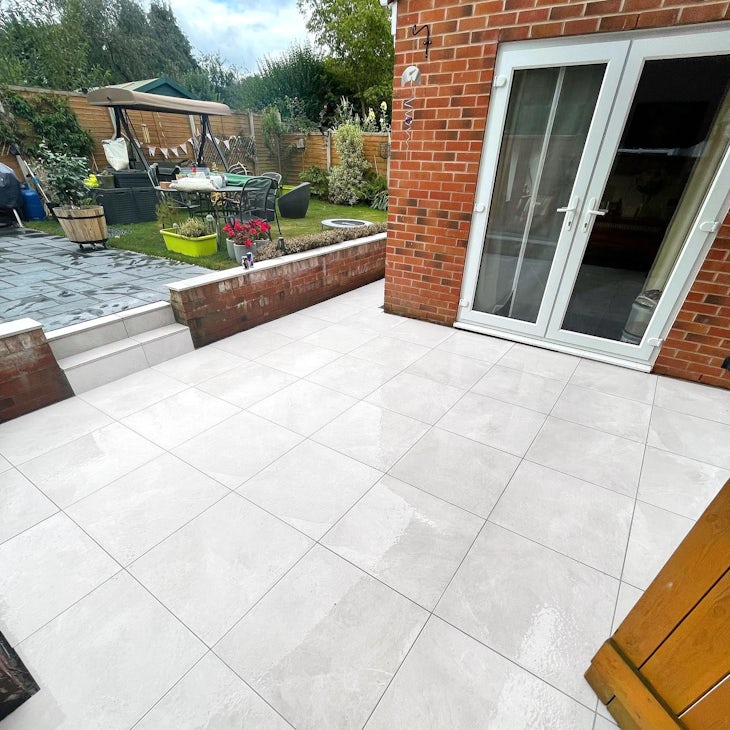
Choosing Your Tiles
Perhaps the most important step in creating your perfect patio is choosing your perfect tiles! There are plenty of options out there to fit your vision, whether you're looking for a traditional country cottage garden style, something sleek and modern, or something totally unique.
Some things you will want to consider are:
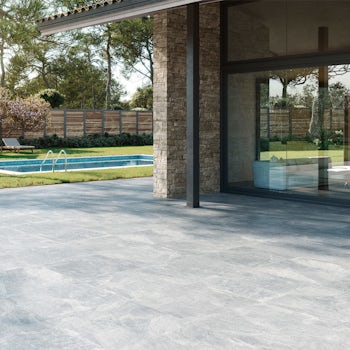
Colour - White, Ivory, Grey, Black? Which is your favourite, and how will it respond to the heat in the summer? Dark tiles are well known for retaining the heat and may be unsuitable for your pets in the midst of summer!
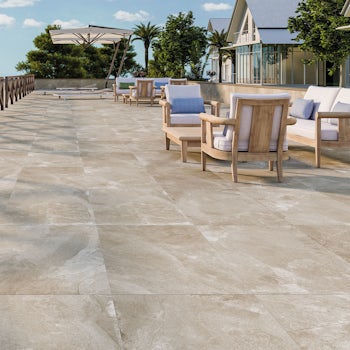
Style - Ultimately, the tile you choose will be one that suits your style. There are plenty of different stone-effect options to browse, but you could also consider using a patterned tile, or a wood-effect deck tile to create a space that is unique to you.
Size - Most outdoor tiles are large format which means less work! But if you prefer smaller tiles, the option is still there. There are also several shapes to choose from, the most classic being square and rectangle; make sure you choose a size and shape you'll love forever!
Properties - As much as you'll love your patio in the summer, you'll need to ensure it also has suitable properties for the winter. That means you may want to consider whether your tiles will be frost resistant, anti-slip, and we would highly recommend using 20mm porcelain tiles to ensure a hardwearing and durable patio.
Check out our full range of outdoor tile options here to get an idea of what tile suits you.
Measuring Your Outdoor Space
As with any tiling job, you will want to begin by accurately measuring your space. To find the area of your space, simply measure the length of the area you will be tiling and the width in metres, and multiply these numbers together.
This number can then be entered on the product page of our website, and we'll work out how many tiles you need. Make sure to tick the box that will add 10% additional tiles for cuts and wastage. It is inevitable that while you are tiling you will get a cut wrong, or accidentally crack a tile, so it's better to be safe than sorry and make sure you have a few additional tiles.
Preparing A Foundation
Depending on the surface you are tiling onto, and the depth of tile you have chosen, you may need to do quite a bit of preparation for your tiling project.
You will need to begin by measuring 150mm below the height you want your patio to sit at. This is to allow for the height of the base, bedding, and tile. Include a slight slope away from your property when digging (up to 200mm) to allow for drainage.
Once you have dug out the area you want to tile, you will then want to fill 100 to 150mm with hardcore aggregate, such as MOT Type 1 (crushed concrete). You will want to make sure that this is compressed, you maintain the gradient you created when digging (this can be checked with a spirit level), and you leave 50mm at your shallowest point for your mortar and tiles.
Alternatively...
If the outdoor area you want to tile onto is made of concrete or old tiles, you can simply use pedestals! This is the much easier, often cheaper, alternative when doing a DIY patio. We would highly recommend this option for those undertaking their first DIY patio; email helpdesk@tileflair.co.uk for more information.
Laying Your Tiles
Once your area has been fully prepped, and your dream tiles have arrived, it's time for the fun part; laying your tiles!
For this part of the job, you will need:
- Mortar
- Exterior Primer
- Twisted Mixer
- Wet Saw
- Spirit Level
- Roller
- Trowel
- Suction Cup
- Rubber Mallet
- Tile Spacers
- Knee Pads
- Sponge
- Water
(All tools can be ordered in-store or via the helpdesk)
Laying Mortar
You will need to begin by mixing your mortar. Many mortars simply needs to be mixed with water (ratio on bag), using a twisted mixer until it reaches a thick but spreadable consistency.
Next, you will need to begin spreading your mortar on your prepared surface with your trowel. It's best to use a corner as a starting point (for instance between your house and exterior wall). We recommend spreading the mortar tile by tile for ease (otherwise you may find yourself stuck in a corner!). Your mortar will usually take 24 hours to set, but be aware that on warm days, this time may be reduced.

Priming & Laying Tiles
Once you have spread enough mortar for your first tile, you will then want to roll-on your primer to the back of your tile, to ensure it sticks firmly to the mortar bed. Place your primed tile on the mortar bed gently (consider using suction cups to provide more control when placing).
Use your spirit level to ensure the tile is level and slopes slightly away from your property (to avoid water pooling). If the tile is a little wonky or the slope is not quite right, simply use your trowel to pry the tile up, add additional mortar where needed, and replace the tile in the correct position. Once you are happy, use a mallet to lightly tap on the corners and edges and secure the tile.
Continue with this method as you lay your tiles, and use tile spacers to create a 3 to 5mm gap between each tile that can later be filled with grout. If you accidentally get a little mortar on the top of your tile, make sure to clean as you go along, while the mortar is still wet and easy to remove.
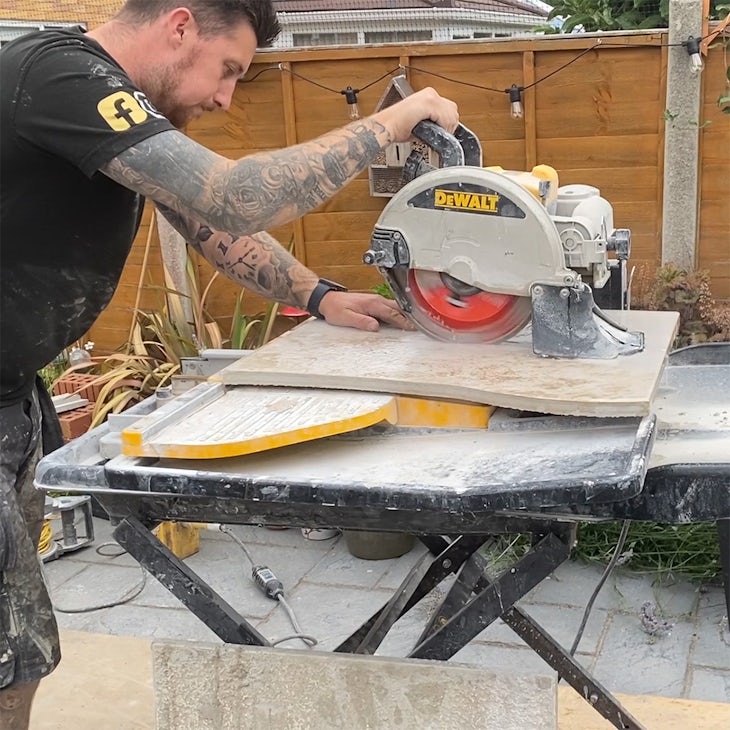
Cutting Tiles
There will undoubtedly be an area of your patio where you will need to cut a tile to fit the space. We recommend using a wet saw with a diamond blade, which will make the job easy and minimise dust.
You will need to start by measuring the space you want to fill and applying these measurements to your tile, marking where you will need to cut. cut from the top of the tile, along the line, slowly and at half-rev's. Do not attempt to cut the tile in one, but rather repeat the process until the tile is fully cut.
Cutting tiles can be very dangerous so be cautious and wear safety equipment, or ask a professional to undertake this part of the job.
Finishing Touches
Once your tiles have had 24 to 48 hours to set, you will want to apply your finishing touches. Until this point, it is important you do not walk on any of your newly laid tiles as this will disrupt the mortar bedding and your tiles will be uneven.
Your absolute essentials to finish an outdoor paving job:
- Grout
- Brush
Our recommended finishing touches:
- Trims
- Porcelain Protector
Grouting your new outdoor patio is very easy to do and a satisfying end to a hard project! Simply remove all tile spacers, and sweep your grout into the spaces left behind. Make sure to use a little pressure as you sweep and keep going over the same gaps to ensure they are full and you haven't left any holes underneath the surface.
Once you are done, sweep away any leftover grout and give your tiles a final clean. You may want to consider adding some 20mm trims to create a luxury finish on your patio, and we highly recommend using LTP Porcelain Protector to ensure increased protection through the winter months.
Enjoy Your New Patio!
Need a little extra help?
We highly recommend with such a complicated job that you contact one of our trusted traders for expert advice and assistance. Their years of experience in the industry are invaluable and will likely save you time and money by creating a perfect patio the first time round.
Visit your local store or contact our online helpdesk by email or telephone for recommendations of tilers in your local area.
Related Posts

Frequently Asked Questions
We're always on hand to offer any help and advice you need, starting with our frequently asked questions section below.
Read More
Be DIY Confident
Tackling your own tiling project can be a daunting prospect, but if done with the correct tools, accessories and some…
Read More