

How To Herringbone
You've chosen your prefect rectangular tile, now chose how to lay it! Rather than just choosing horizontal or vertical why not transform your space by fitting your tiles in a herringbone design. Although this clever design may look complicated to achieve we have put together some simple how to guides to help you a along the way.
Here are a few simple steps to follow to help you get started with your Herringbone pattern:
- Pick almost any rectangular shape tile (the width of the tile needs to be 50% or less of the length) i.e. 600x300mm, 300x100mm
- Find the centre of your wall or floor and mark with a pen/pencil
- Find the centre of the width of a tile (do this on 2 tiles)
- Lay tiles at a 45 degree angle and draw a straight line between the 2 centre marks and place this on your centre line on your wall or floor
- Dry fit the tiles if you are laying a small area and this way you can check to see if your cuts lay well
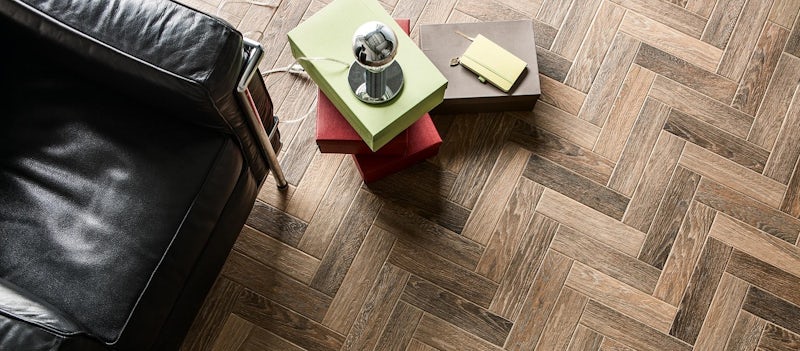
Whether you are tiling walls or floors the herringbone laying pattern is equally as effective. You can add a real visual impact to any space big or small even if you chose a simplistic metro tile or a more striking wood effect tile.
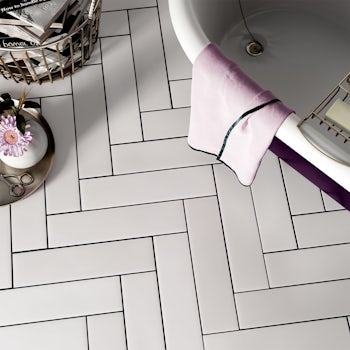

Take a look at our other customer's images below to help give you inspiration on what you could achieve in your home!
View More

Frequently Asked Questions
We're always on hand to offer any help and advice you need, starting with our frequently asked questions section below.
Read More
Complete Your Design With Tile Accessories
Read More
Patterned Tiles
Bring creativity and style to your home, with our range of patterned floor tiles. Whether kitchen, bathroom or outdoors, we…
Read More